Learn how to cut scallop fringing from paper or card
Scallop fringes add rounded shapes and soft texture to your artwork.
This is the fiddliest of the fringing types but with our top tips and a bit of practice you too can master it!


- Paper or card
- Pencil
- Scissors
If you want to rub out your pencil marks you will need a rubber. When putting your piece together you might also need glue*.
*(sticky tape and pva glue can also work)

For a quick overview, check out the video: Make your own paper fringes
To work at your own pace, follow the slideshow instructions below:

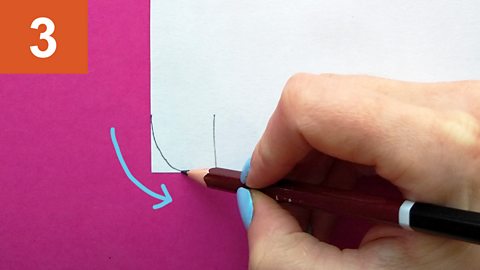
Image caption, Decide how long and wide you want your scallop fringe to be and choose your paper
For example, you might cut long, thin scallops for feathers but short, chunky scallops for a bumpy path or scales.


1 of 10
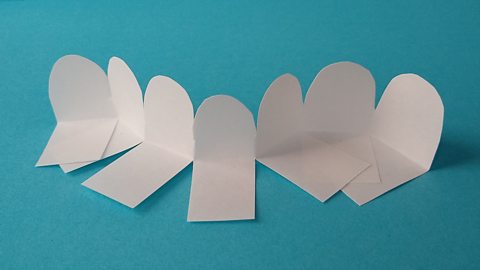
Scallops in 3D work
You can also add tabs to your scallops to make them stand up:
One long tab makes a straight scallop fringe


Lots of tabs makes a curvy scallop fringe

(For more help with making tabs check out our strip fringing article.)
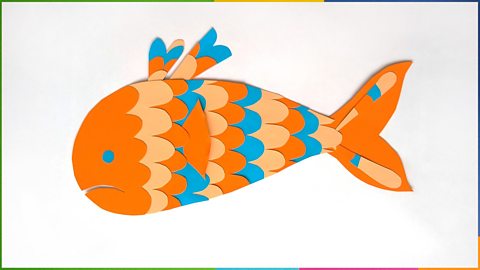
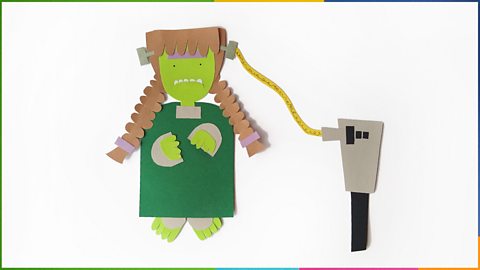
Artwork examples


Here are a few common problems and how to fix them:
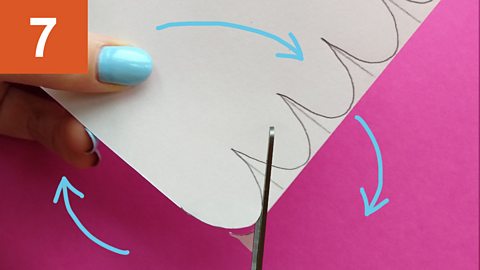
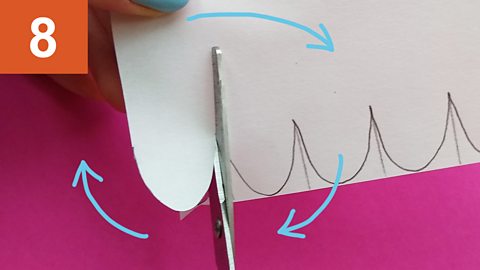
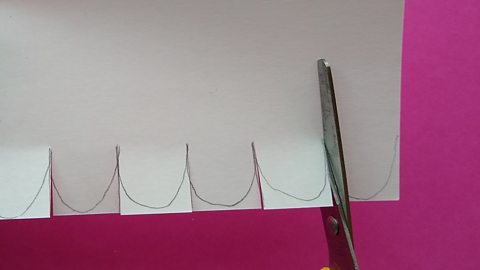
Tip 1: Is your paper tearing?
It can be hard to cut the middle bits between each scallop without tearing the fringe.
Tip: Cut along the straight lines between the scallops and then cut the curves.

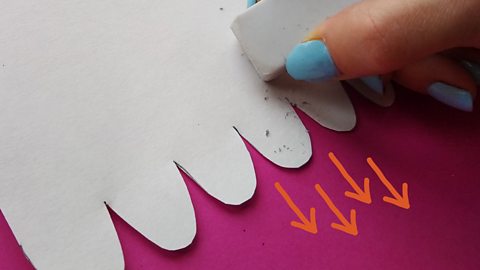
Tip 2: Do you have pencil marks?
If you have pencil marks left on your scalloped fringe after you cut it, there are two options:
Flip it over to hide the marks (but this is only useful if you won't see the other side)
Use a rubber
Tip: If you use a rubber, only rub in one direction: from the paper out to the edges of the fringe.
This will prevent you from creasing or tearing your fringe.

Learning recap

You can change the length and width of your scallops to create different looks.
You can also add tabs to your scallop fringe to build sturdy 3D forms that keep their shape.
For more help with making tabs check out our guide to making strip fringes.
More on Design activity
Find out more by working through a topic
- count5 of 11

- count6 of 11

- count7 of 11

- count8 of 11