Want to try and create your first video, but not quite sure where to start? Well Ashleigh Jadee has got you covered! Check out her advice on filmmaking and put her top tips into practice!
Check out Ashleigh Jadee's advanced filming tips here.
Step 1 (00:20) – Decide on the kit you’re going to use.
This doesn’t have to be expensive, the camera on your phone is a great place to start.
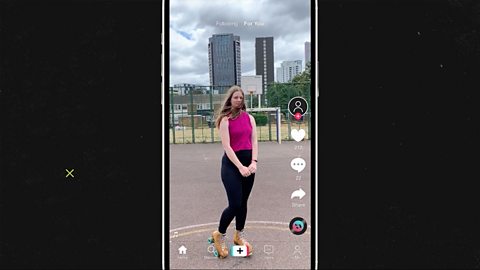
Step 2 (00:49) – Choose which platform you’re filming for.
Whether it’s TikTok, Insta or YouTube, the platform will help you decide whether to film portrait or landscape. For TikTok, Insta Reels and YouTube Shorts film with your phone in portrait, but for YouTube videos, landscape is best.
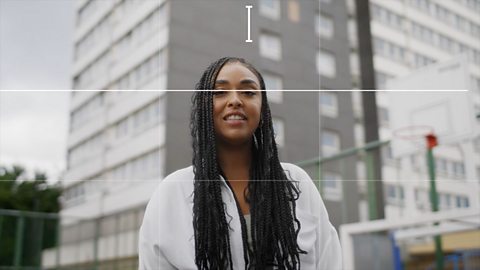
Step 3 (01:01) - Follow the top filming tips.
Putting a grid on your phone means that your frame will be split into 9 equal parts. Using these guide lines will help you frame your shots, this is called the Rule of Thirds. Make sure you give your subject the correct headroom, not too much and not too little. Creating depth in your shots, by filming with a lot of space behind your subject, will make your film look more professional.
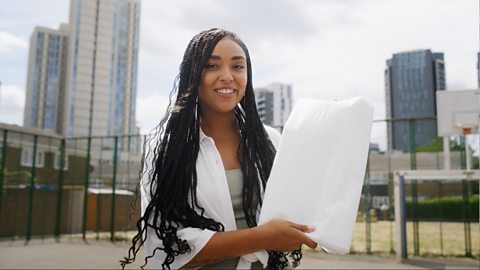
Step 4 (01:47) – Make sure your subject is lit correctly.
You can use the sun and makeshift reflectors to add light to whatever you’re filming. A large white surface can be used to reflect the light of the sun onto your subject, this can be used to add light to their face.
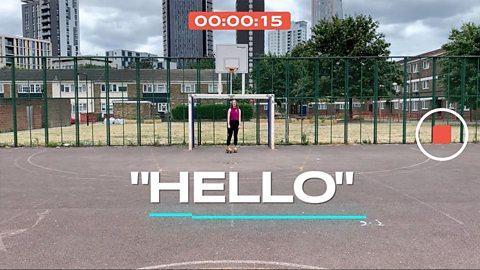
Step 5 (02:34) – Find a quiet space to record and get filming.
Get close to the subject you’re filming or use a microphone. This will help increase your audio quality and minimise any background noise. It’s always good to do a test recording at the start, to make sure you’re happy with the sound levels.

Step 6 (04:18) – Back up your footage.
Make sure you don’t lose all that hard work by backing up your footage! This can be done by copying and pasting all of your files onto your computer, external hard drive or cloud storage system.